It's been awhile since I've posted thanks to a three day trial I got suckered into for jury duty. It seems as if my house has been transformed into a large void whose sole purpose is to contain the mountains of dirty laundry which fills it. Three days off for momma and daily duties doesn't end well. : /
This week will be a juggle of catching up on work, laundry and playing with my sweet little boys, whom I have missed terribly!
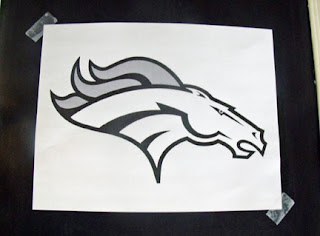
We are looking forward to the weekend and the prospect of having our team make it to the Superbowl!! I designed a chalkboard for the AFC Championship game this weekend between the Broncos and the Patriots.
We are looking forward to the weekend and the prospect of having our team make it to the Superbowl!! I designed a chalkboard for the AFC Championship game this weekend between the Broncos and the Patriots.
I used a simple transfer technique that allows any image that you can print to be transferred to a chalkboard. Anyone can do it and it will look like it was done by an artist! It's also great for text if you don't have a steady hand with letters.
You will need:
Printer
Printer paper
Chalk
Chalk board
Sounds too easy to be true? Continue to be amazed~
Step 1: Choose your design and print to the correct size (I typically convert to black and white as to not waste any colored ink):
Step 2: Rub chalk on the BACK of the image, covering the backside of the image completely.
Step 3: Tape the image to the chalkboard with the chalk covered surface to the chalkboard.
Step 4. Use a pen with a cap on to "trace" the image with moderate to firm pressure. Be careful to not let your hand smudge the image. Only apply pressure on the lines that you want to transfer.
5. Remove paper.
6. Fill in the lines and add color!
And Whala! You have a perfect image!
Now go gloat to all your friends!


No comments:
Post a Comment